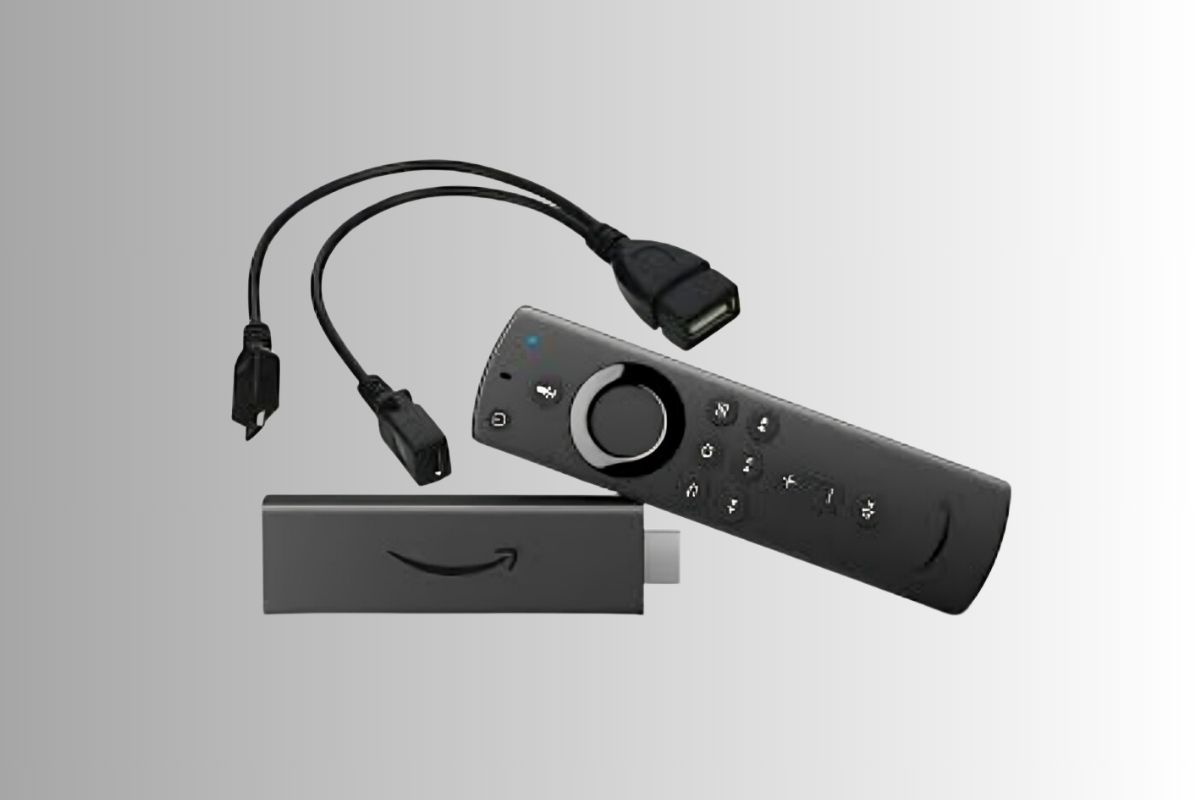
Expanding the storage on a Fire TV Stick can truly transform how you use it—trust me, I’ve tested it all myself. The latest version of the Fire TV Stick comes with 16GB of space, but with this storage expansion process, you can boost that capacity up to a whopping 2TB.
With just a few additional accessories and a bit of setup, I turned my Fire Stick into a powerhouse that now handles large apps and even DVR capabilities without a hitch. Here’s my guide on how to do it, based on my hands-on experience.
Why Expand Your Fire TV Stick Storage?
You might be wondering if it’s really worth the effort to expand storage on your Fire TV Stick. Here’s why I decided to go for it: with the default storage, I was constantly running into limitations. Apps would run slow, updates wouldn’t install, and streaming big apps became a pain. Plus, I was interested in ditching the cable box and using my Fire Stick for recording live TV. If any of that sounds familiar, you’ll love what a storage upgrade can do.
Equipment Needed for Storage Expansion
Here’s what you’ll need to get started:
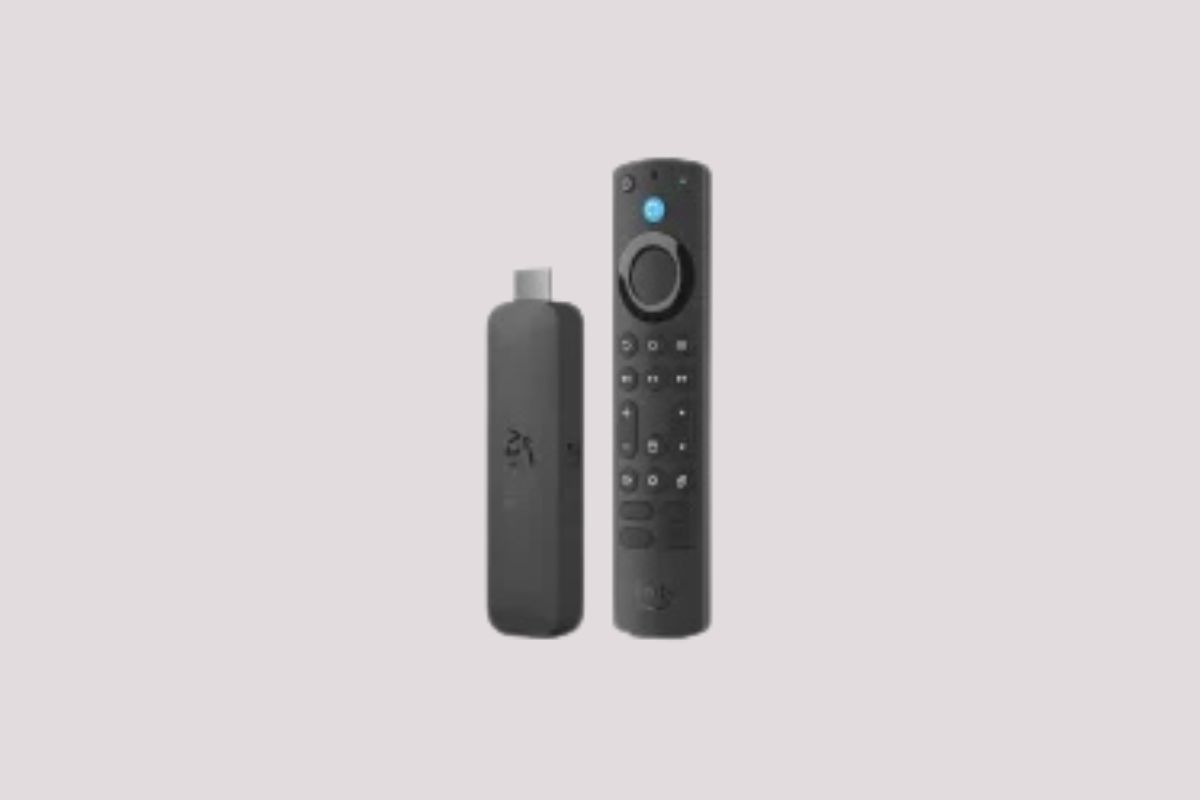
Fire TV Stick 4K Max
I used the 4K Max model, but this process should work for other versions. I chose this one because it’s a bit more powerful and made setup a lot smoother.
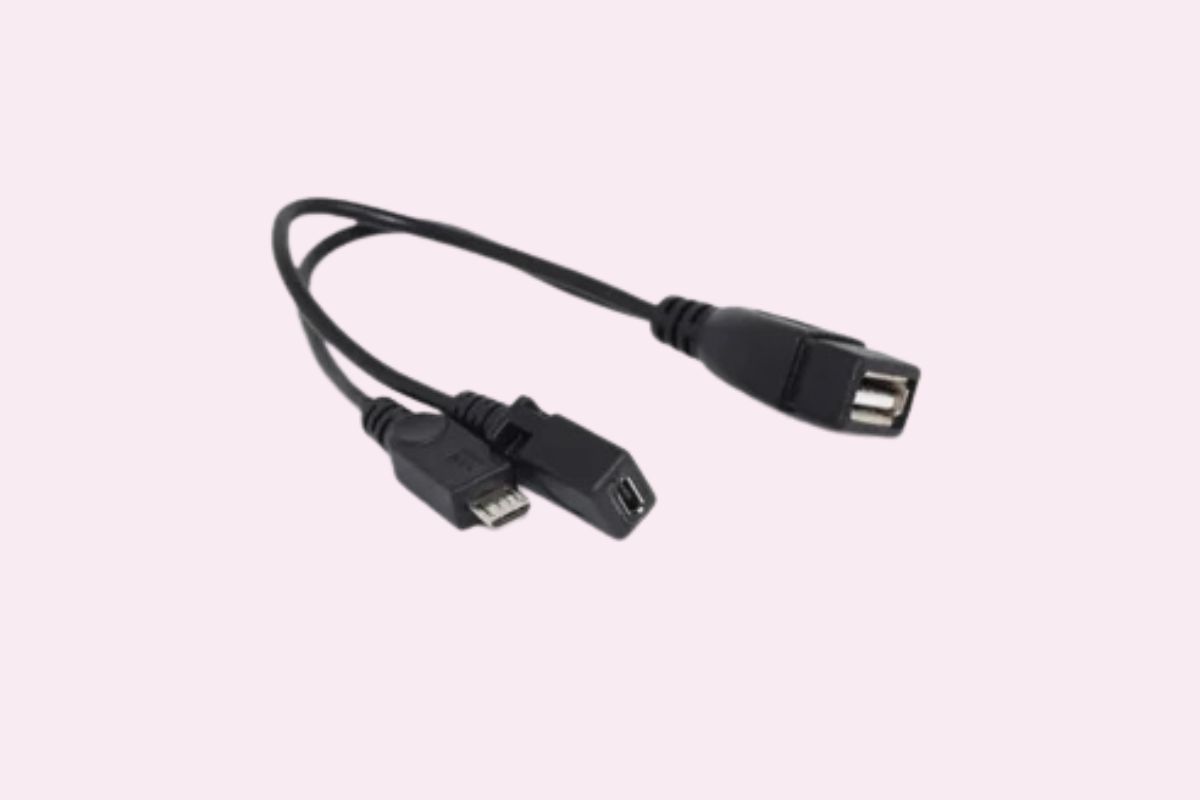
OTG Adapter
This handy adapter gave my Fire Stick a USB port, which is essential for connecting extra storage. It’s a simple addition but makes all the difference.
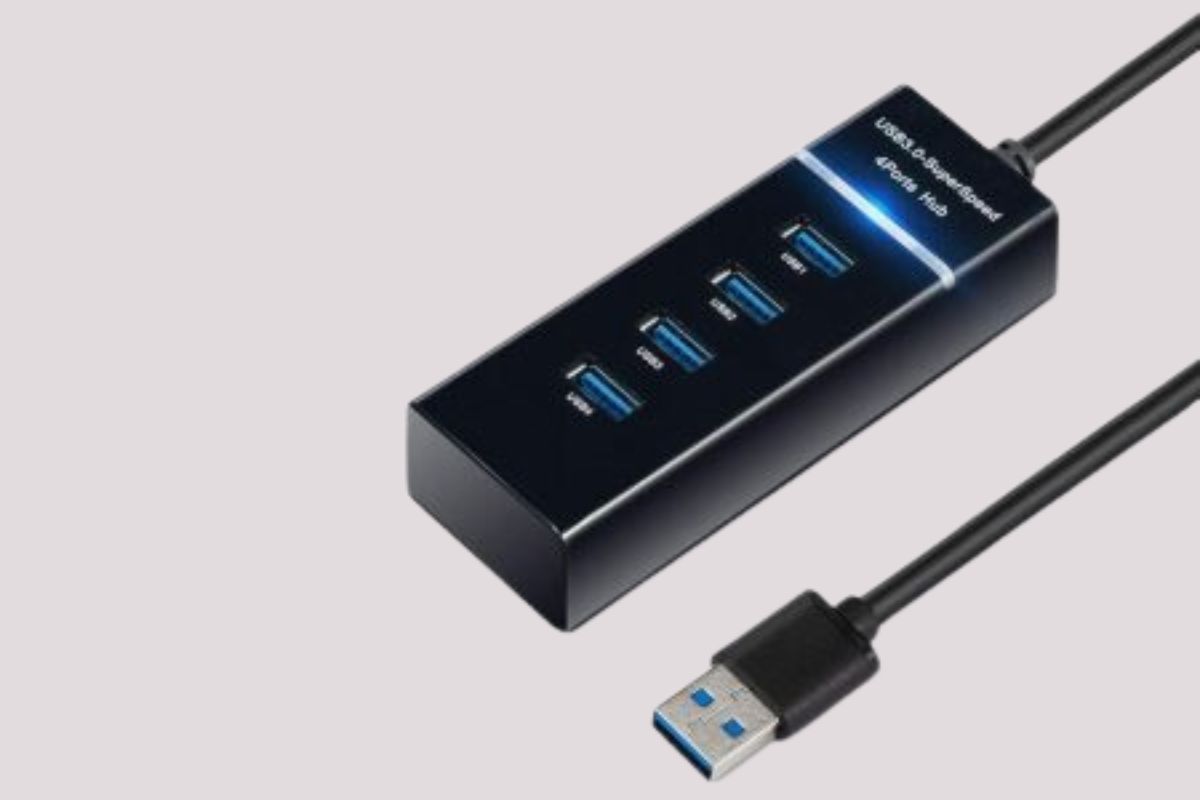
USB Hub
Adding a USB hub gave me multiple ports, so I could connect my external drive, Ethernet adapter, and even a keyboard if needed.
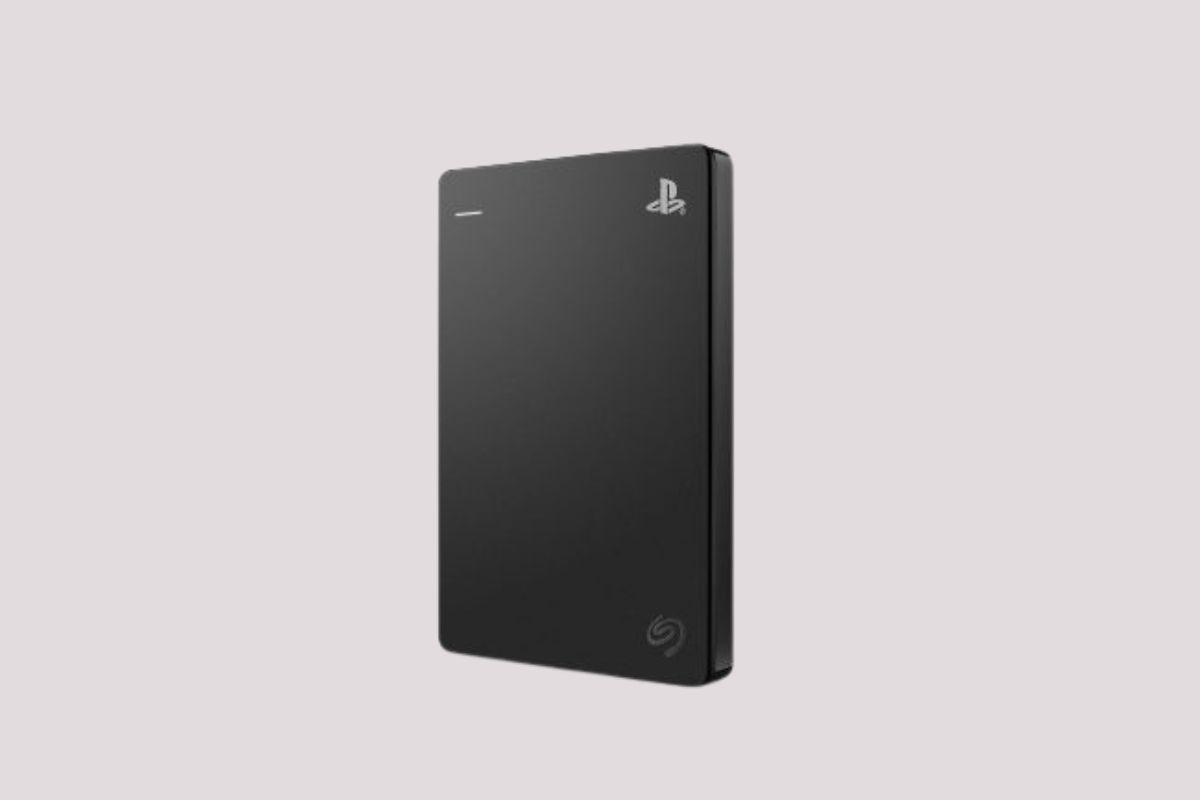
External Hard Drive
I went with the Seagate Backup Plus Slim. This drive has just the right specs to work well with the Fire Stick without hogging too much power, which is key here.
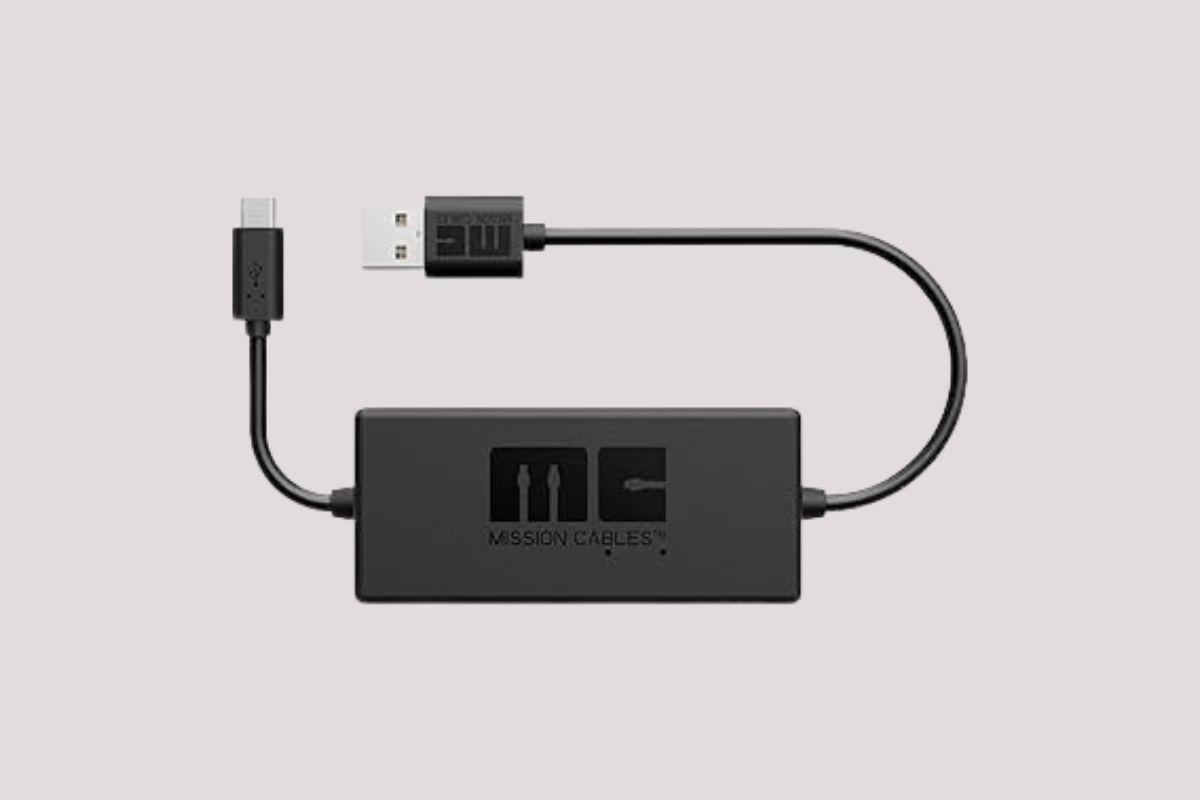
Mission Power Cable
If there’s one thing I can’t stress enough, it’s this cable. The Fire Stick alone doesn’t have the juice to power all these extras, so this power cable is crucial to keep everything stable.
Step-by-Step Setup Guide
Here’s how I set everything up. I’ll walk you through each step, just like I did myself:
- Disconnect the Standard Power Cable: First, I unplugged the regular power cable from the Fire Stick. The OTG adapter needs that port.
- Attach the OTG Adapter: Next, I connected the OTG adapter. This adapter creates an extra USB port on the Fire Stick, while still allowing a power connection.
- Connect the USB Hub: Then, I plugged in the USB hub to the OTG adapter. Now I had multiple USB ports to play with.
- Plug in the External Hard Drive: I connected the Seagate Backup Plus Slim to one of the USB ports on the hub. It’s important to choose a drive with low power requirements—otherwise, it won’t work well with the Fire Stick.
- Connect the Mission Power Cable: Here’s the critical part. I pre-charged the Mission Power Cable for about 10 minutes before hooking everything up (if you skip this, your setup might not work smoothly). Once it was charged, I plugged it in, and instantly my Fire Stick had enough power to handle it all.
Power Supply Considerations
If you ever try this without the Mission Power Cable, you would probably run into what’s called a “boot loop” where the Fire Stick restarts over and over. I’ll admit, this happened to me on my first attempt because I didn’t pre-charge the cable. So learn from my mistake! Pre-charging the cable keeps the system stable and prevents those annoying restarts.
Formatting the Drive for Use
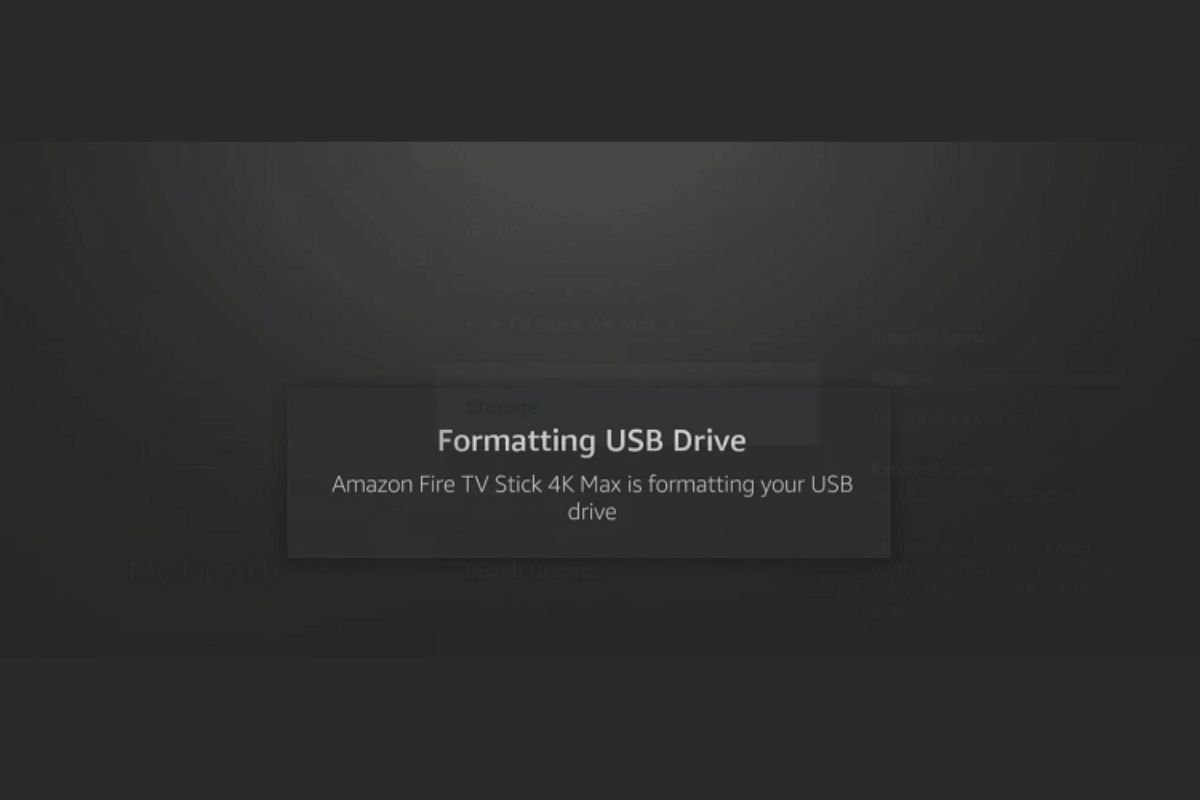
Once everything was connected, I needed to format the drive. Here’s what I did:
- Navigate to Settings: On the Fire Stick home screen, I went to ‘Settings.’
- Select ‘My Fire TV’: Then I chose ‘My Fire TV’ and found the USB settings for my external drive.
- Format as Internal Storage: Here’s the trick—selecting “Internal Storage” (or “Device Storage” depending on your location) makes the drive part of the Fire Stick’s internal memory. This is key if you want to install apps directly onto the drive.
Optimizing and Using Additional Storage
With the drive set up as internal storage, the fun began. I can now install larger apps without running out of space. I even downloaded a few extra streaming apps and didn’t have to worry about deleting others to make room. For anyone wanting DVR functionality, this setup is a game-changer. You can use any player to record live TV right to the external drive. It’s as easy as selecting the drive as the storage location within the app. My Fire Stick now feels like a mini media center, all thanks to this upgrade.
Common Queries & Troubleshooting Tips
From my experience, here are a few common questions and tips:
- Formatting the Drive: Make sure you format it as “Internal” or “Device” storage. Otherwise, the Fire Stick might not recognize it as expandable storage.
- Compatibility with Older Models: While I set this up on the 4K Max, you can do something similar with older models, though it might require additional software.
- Updating Apps on External Storage: Some apps might not update properly on the external drive. In my case, I just keep those apps on the internal storage.
- Setting Recording Paths in TiviMate: I realized that to use the external drive for recordings, you have to select it as the default recording path in the app itself.
Conclusion
Expanding my Fire Stick’s storage was one of the best upgrades I’ve done. Not only does it now handle a bunch of large apps, but I can also record live TV and save downloaded content without maxing out the device’s memory. If you’re running out of space or want to use your Fire Stick for more than just basic streaming, this setup is totally worth it. Give it a shot, and feel free to reach out if you hit any snags. This little device has a ton of potential—sometimes, all it needs is a bit of extra storage to unlock it!


